Showing posts with label Crafting. Show all posts

Wednesday, October 18, 2017

Leather Working - Leather Holsters

So, I'm not very good at this craft - yet. But I managed to pull off two functional holsters! Both made from vegetable tanned leather, and were already dyed when I bought them. Hobby lobby sells leather scraps for cheap. They are usually pretty small, but most often come with at least one scrap large enough for my small gun. 


Turns out it's harder to find a large enough piece of leather in a scraps bag. So the first time around  I stitched two pieces together. It kind of looks like it has a Mohawk. I'm not a huge fan, but it's perfectly functional, and thus i was proud of it for my first try! The primary goal was to protect the trigger, and the finish, and fit into my glove box, as the holster I had was too large. It accomplished all of those goals.
My second holster as you'll see is a little more advanced. I wanted something that fit Into my glove box, and was equipped to wear on my belt. Even though I mostly carry it in a back pack, it's nice to have the option. This one features a belt strap, and a strip of leather around the top to help the holster keep its shape while the gun is drawn. This way it can easily be re-holstered without needing to use the other hand. 

The leather for this holster was quite a bit thicker than the first one. You'll notice the level of gun detail is less. Tried as I might, I could not get the detail as sharp as I wanted. I may have even tried too hard, because the skin started to bunch in places I put the most stress.
The finish is Tandy Eco floor super sheen. I haven't quite figured out the types of finishes that are available to me. But this Eco flo has worked nicely. It even gives the leather a nice water resistance. Make sure to shake before using.

Maybe next time I'll learn to finish the edges properly.

Saturday, February 25, 2017

Wood Boxes

This is the first box I've ever made. I just jumped right into it, with whatever tools and knowledge I happened to have at the time. And I didn't have many of either, but it turned out really well regardless. Which I think is a testament to the philosophy of "Just do it". What have you got to loose?


I bought a scroll saw. And my first idea was to try and make a box with my new tool. I patterned the scroll work from an image of Mount Timpanogos.  But I used a blade that was too large, and I wasn't able to capture the correct level of detail. I was still happy with it though.
 
I bought this wood called "Birds eye maple". It's maple, with a lot of little marks that look like birds eyes. I thought it would look awesome as a moon, so I built it into my design. I thought the legs of the box would give it a modern look. But instead it came out a little more rustic that I would have liked. I learned later that a "modern" design has angles, and curves. Not just square legs.


My little brother commissioned several ring boxes from me. He had created several rings in his gun smithing class, and thought that they would make great
Christmas presents. I've never made a ring box before, he sent me a design and I took my best whack at it.


I loved the idea of a crushed stone inlay. A ring box was the perfect chance to try it out. I used epoxy as the filler.


After I finished the ring boxes for my brother, I had this great idea for another one. I agonized over the design, and I started to doubt whether it would actually turn out. all in all, I think I am happy with it.
At this stage is where I started to seriously doubt my design. I thought the crushed black stone in the background was way too shiny. And the texture was way too different from the wood.  But at that point I was stuck, and there wasn't much that I could do to fix it. So I pressed forward with my original design, hoping that maybe it would turn out better than I expected.
  
And it did! Once I mixed it with epoxy, and sanded the stone down, it mellowed out, and I was really happy with the final design. I used tiny magnets in each of the corers to keep the top on. And I used the birds eye maple again as the background moon. 


Tuesday, February 7, 2017

I Bought A Cricut Die-Cutter!

In the past, I have had project ideas that always seem to involve some kind of stencil, or silk screening. Things like glass etching, metal electro-etching, chemical etching,  labels on a panel for a bench top power supply.  I would try to print the image out, and cut it out with an xacto knife. And it kind of worked. But my skill with an xacto knife isn't exactly up to par when it comes to detailed work. Or really any thing presentable. So for a long time I've wanted some kind of die cut machine.

My girlfriend and I were at Joann's the other day, while she picked up craft materials. We saw a die cutter on sale. I googled around, and did a little research, and decided it was the one I wanted, and for the price I wanted it. Turns out it's pretty great! I functions very well, and cuts designs as well as I could have hoped. 

My one complaint however, is with the whole user experience. I'll get into that a little. First of all, there are only three platforms for the product: Online, iOS, and Android. There is no desktop/offline software. And as of yet haven't found a way to interface with the device while offline. Maybe that's a project for later.

The online software is written in Adobe Flash (Gross!). And as such is very slow, and buggy, and doesn't always work. The design of the software seems fine. Just the general buggyness bugs me. The iOS and Android apps are actually pretty nice. They seem solid, and stable. And the UX is very well done. I don't know how well it would work to design something on a screen smaller than 10", but I imagine it would be "Just ok". The kicker though, is that you can't upload custom images!! Which is 98% of my intended use case! What is wrong with them?? I wish they could combine the stability and UX of the app, with the screen size, and ability to upload images. Then I would be so happy. But until then, I can deal with the online software. It works well enough.

All in all I'm excited for the potentials. Oh, and here's the Ruger logo I cut out, stuck to the craft box, just for fun.

Friday, February 3, 2017

Clay Pokemon

There Isn't much to say about these. I just want to show them off because I was so proud of them when I made them. I had a friend who was serving a mission, and I made these for her.


Paper swans

I saw this idea on the internet one night. It's known as "Golden Venture Folding" where you construct many little triangular pieces of paper and assemble them into many different kinds of structures. At first I did not have any tool that would adequately cut paper into the right sized rectangles. So I folded and ripped each and every rectangle, nearly 500 of them. 
I gave my first one away as a thank you to a friend.
When my mom saw a picture of them I sent her. She commissioned a few smaller ones.


Thursday, February 2, 2017

More Crochet Craft

My girlfriend and I dressed up as Ash and Misty for Halloween. I thought I would surprise her by making a pair of pokeballs that we can carry around with us, and inevitably throw at people. 

I wanted this to get turned into a pillow case. But I lost my will to continue about 2/3 of the way through :( It's currently sitting unfinished in my yarn bucket.


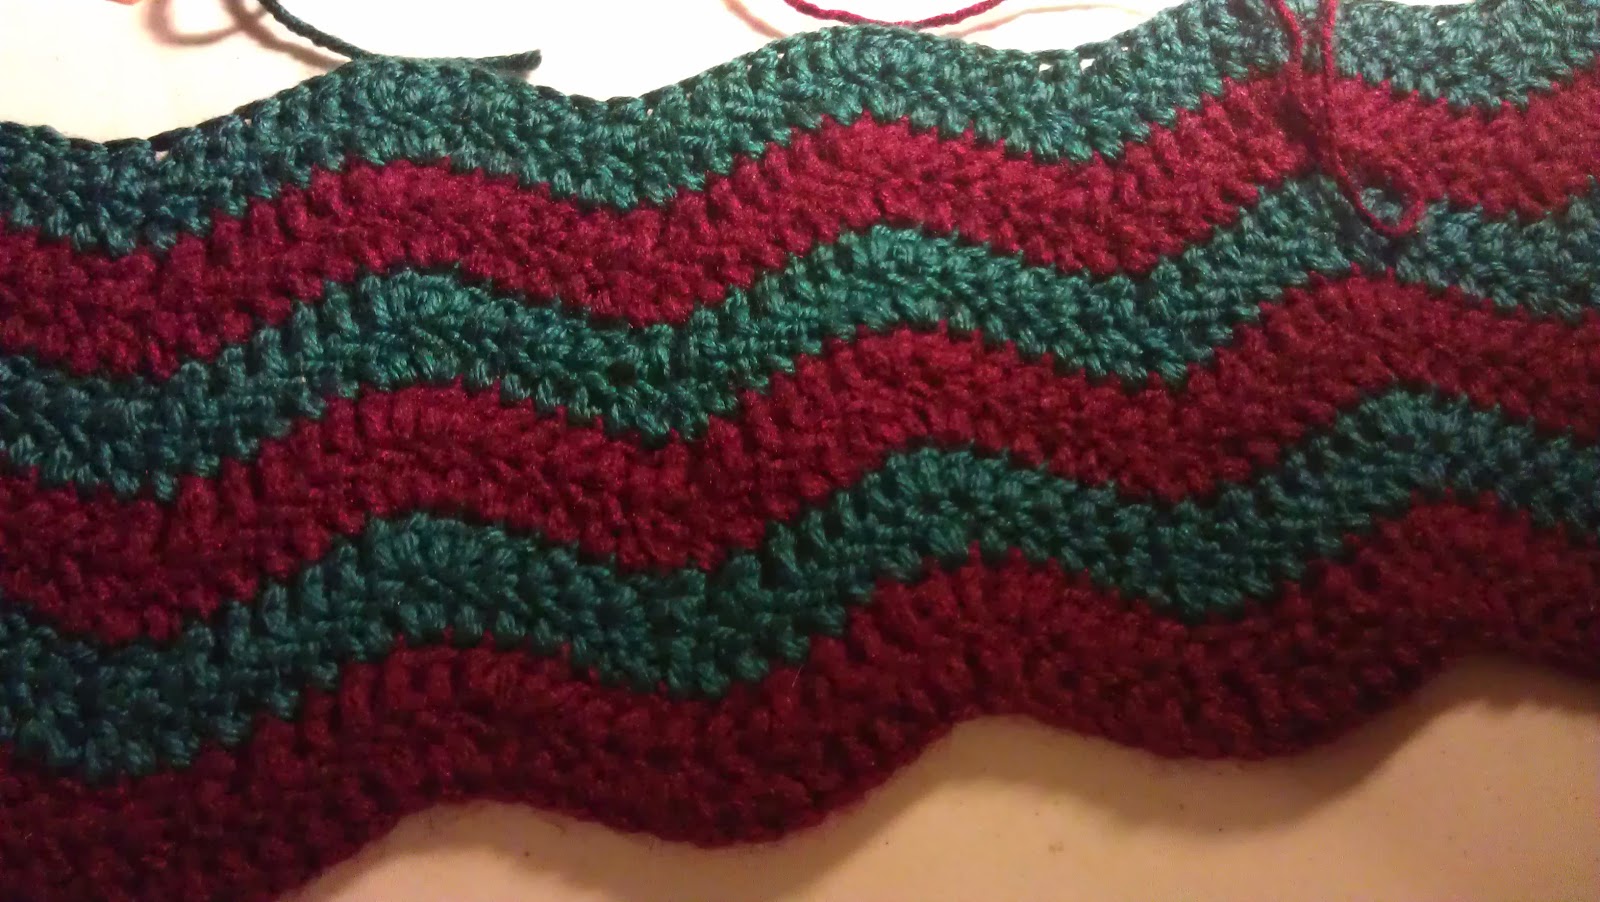
Every once in  while I have this itch to make something for a friend of mine. I discovered this pattern, and thought it would make a great pillow. I couldn't decide which pair of colors to make it, so I just picked both.


Coffee Bar with Built-In Kyoto Coffee Dripper

After I built my dry bar, I felt like my kitchen area still wasn't complete. The coffee equipment took up too much bar space, and too much counter space. Shortly after I realized this, I came across a cold brew coffee maker known as a "Kyoto Coffee Drip Tower". I was enthralled with the look and the idea of it. But they were very expensive. I shopped around a little bit, and discovered that I can buy the glass, make my own stand, and it would save me $200. So that's exactly what I did.
I combined my two ideas into one. I made a coffee bar with a build in space just for the coffee driper to sit. It was integrated beauty. 
 
I had to turn 12 dowels on my lathe. The pattern was fairly simple, but I have very little experience with turning. I had hoped this would be a good learning experience. I feel like they came out pretty well, and fairly consistent.


I have always wanted to make some sort of furniture out of black steel piping. It really lived up to the hype. It is easy to use, and has that very nice look to it. I was impressed. Note to self, next time buy the long sections and have it cut at home depot. It's significantly cheaper that way.

The depth of the counter top was a little short, which causes the legs to be a bit too close together. I had to secure it to the wall to prevent it from being too tippy.

1911 grips

I own a 1911, and the existing grips are plastic beige and boring. Since I practically have an entire wood shop in my garage, I figured "Why not make my own grips?". And that's exactly what I did.  
These were surprising really easy to make. All it takes is a 1/4" thick pair of scales, and a belt sander to shape them. The hardest part of these, however, is drilling the holes. When I did these, I had only a hand drill available, and it drilled very imprecisely. so I spent a lot of time with sandpaper wrapped around a stick trying to hand fit the grips to the gun. It was a pain. I have since bought a drill press, which should make the process easier, and produce higher quality grips. The through hole is  15/64" and the counter bored hole is 9/32". The wood is purple heart.

These grips are meant to resemble the insignia for the first cavalry division. Made with yellow heart and wenge.


A Coffee Table Made Out of Coffee Beans!

My roommates, my girlfriend, and I all started hanging out in my living room more often. Eating, drinking, doing puzzles. The need for a coffee table became quite apparent. I had never build any sort of furniture before, so I decided to take a whack at it. My coffee table, with embedded coffee beans!


I built the legs out of some scrap 4x4 I had laying around from a previous project. And the top is birch ply wood. I covered it in a thin layer of poly acrylic, because I was worried the epoxy would not enrich the wood enough. The poly acrylic does not amber the wood very much, but it was just enough to make the top look great.
I really wanted to do some inlay work on this table. Because I think inlays look great, and are a great exercise of skill. I had never done one before. And at this point in my wood working career had never bought any kind of wood that can't be bought at home depot. Learn from my mistakes. 


My first mistake, I used stained wood for the inlay. I should have known better. The final step of an inlay is to sand the whole thing smooth, so that the inlay lays flush with the thing it is inlaid into. But if you used stained wood, it will sand off all the stain. Oops. I figured it didn't look all that bad, so I kept it. 

The second mistake I made, is that inlaying into plywood doesn't seem to lend the best results. The top veneer will chip, leaving ugly edges. I suppose if your router bits are super sharp, this can be avoided. But I have no confidence that this can be pulled off at all. In the end, both of these mistakes did not prove fatal, but I would not do it this way again, especially if I plan to sell the work.


 I wanted the table top to be tough, durable, and water proof. Since it's a coffee table, it will see a lot of action, and will be very prone to have drinks spilled on it. The best finish for this use case turned out to be bar top epoxy. With epoxy, since it goes on so much thicker than normal wood finishes, one could conceivably embed objects into it. Which is exactly what I did. Most people use pennies, or pieces of paper. I thought it would be super cool to use coffee beans instead. As it being a coffee table and all. WARNING. epoxy is expensive. And coffee beans are relatively thick, when compared to pennies or paper. It will require substantially more epoxy to cover thicker things than thinner things. I only filled the coffee table about with about half as much epoxy as I should have, and it still cost me $50. So the table has a rougher texture where the coffee beans are. 


To pour epoxy, there needs to be some sort of dam to hold it in. Tape can work fine if you're careful, but I decided to put a frame around the edge of the table, to both cover the plywood edges, and provide a dam for the epoxy.
It's embarrassing how many times I recut the sides of the frame. I really didn't know what I was doing.


And that's my coffee table! Nearly a year later and it is still in perfect condition. Although the rough coffee beans  do make it rather hard to clean. Otherwise, it's perfect for the situation!


Wednesday, February 1, 2017

Dry Bar

Ever since I got my dining table, there was something missing about my dining room. That something was a dry bar. At the behest of my roommates I decided to undertake the largest piece of furniture I have ever made. Here is a cluttered picture of the final product
a
I had a few design requirements. It needed to have a fridge. I wanted a place to display the fancier bottles, as well as easy access to the most commonly used bottles. Also mirrors.

This was my initial sketch:
Before I even started on the bar top and cabinets, I hung the mirrors and bought the fridge. I was locked in now.  
The cabinet was built from birch plywood, and edged with cherry. Ply wood edges are notorious ugly. 
 I had to cut hundreds of strips. I ripped them all on a table saw. Which was less than ideal, but I wasn't quite ready to spring for a proper band saw. Here they are, mostly all laid out to get a feel for the pattern. I used paduk, cherry, walnut, purple heart, and wenge.

One row at a time.... Some of the strips needed to be bent into shape, which made gluing more than one row difficult. At some point even my clamps weren't long enough and I had to get creative. Notice long strip of pine in the midde of the pictures. That's my improvised clamp.
The glueup is done!! And it's all sanded down, and ready for the finish. I used waterlox, because it is both waterproof (Which is a necessity for a bar top that will probably get wet) Yet at the same time, it won't chip like polyurethane, which makes it perfect to prepare food and drink on.